Making My Own Books
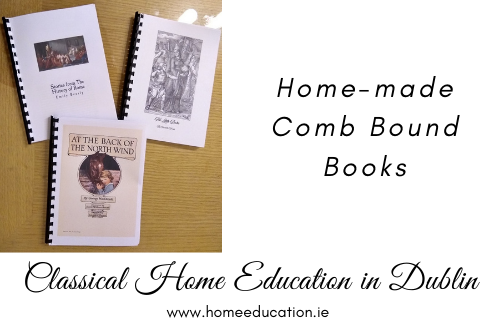
I was making some simple comb bound books as I get ready for more formal school. It is quick to make a book like this when you have a printer, binder and cutter, but fathoming it out the first time can take a bit of time. To simplify it for you, I made notes as I worked to create this post. But before going into how, here’s why…
Why would I want to print a book myself?
Option 1: The book is out of copyright and you want a physical book but …
- The book is currently out of stock.
- You want to be sure of a certain font size. Some out of copyright books are reprinted very poorly, with smudgy or tiny font, even incorrect images. Amazon tends to bunch reviews for books with the same title so it can be difficult to ascertain which book is a good print. Ambleside Online links to good copies on the USA Amazon, but when transferring across to the UK Amazon site, I have had a few duds arrive. For some titles it can be a hassle to work out which edition to purchase.
- You can’t easily pick the book up in a local bookstore, where you could check the font size.
- You are in a hurry and you want to read the book this week.
- The post is very slow at the moment.
- A coil bound book sits open nicely. This also works well for copywork.
- Once you have a binder, then it is economical.
I print storybooks A5 size – that size suits me for reading aloud and fits nicely on the shelf with the bought books.
Option 2:
Postage from the USA is high. If you want one book costing $20, the postage could be $25. If there is an ebook option (e.g. Simply Charlotte Mason, Beautiful Feet’s Literature Guides) or it is a workbook where the copyright allows you to print a copy for each person (e.g. Evan Moor, Critical Thinking Co), then making a simple comb bound book may suit. Usually, I would make these A4 size.
Obviously, it is very possible to read books on a PC, tablet or kindle. I just prefer having a physical book in my hands and the hands of my children where possible, especially when we are cuddled on the couch reading together. And I find it easier to have all our current read alouds in our book basket next to the couch. I try to keep screens use down.
What do you need?
You will need a binding machine. I have a very basic model – which is all I personally think is needed in a home. I picked up mine, with a bunch of combs, from adverts for €20. You can set an alert and adverts will let you know when someone posts one. I have recently seen them new in Easons for €30, but I cannot find a link on Eason’s website. Mine is somewhat like this one. The more expensive ones can punch through more pages at a time, and the electric ones save you having to push. Which will save you all of about 5 minutes when making one book. And they are much larger and heavier. Personally, I’d rather have something small and easier to store. Once you have one, I’m sure you will often find it handy to keep piles of paper together.
You will also need an A4 paper cutter, if you don’t already have one. You can get them at Eason, Reads, Amazon UK. Sometimes the Euro stores have them in the stationary section. I use mine all the time. I find it super useful.
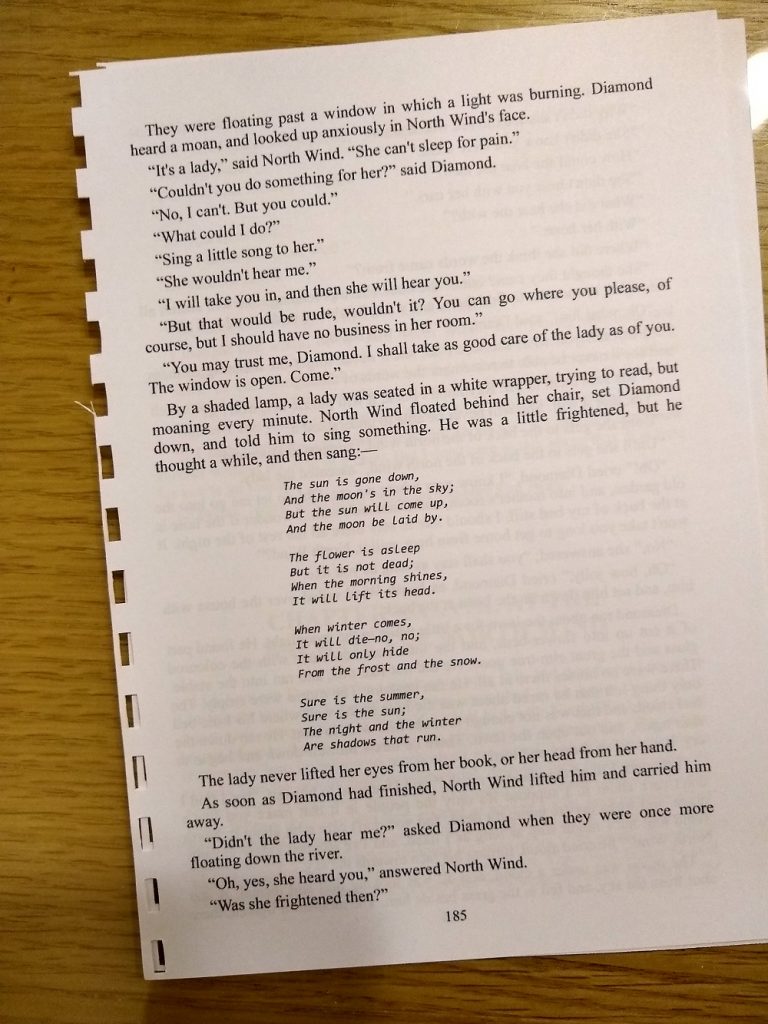
The type of paper makes a big difference. The writing won’t show through the thicker paper and it holds much better in your hand while reading. Another home educating mom recommended the 100g/m2 paper to me, and I am so glad she did. It would never have occurred to me to buy different paper. I have no affinity to any particular paper brand. I just buy the cheapest one in the shop on the day in Tesco or Easons. It is also available on Amazon UK.
I have seen some mothers on the Ambleside Online group making some very fancy bound books. No complicated sewing and glueing for me! Mine are quick, simple and functional, comb bound.
How do I make an A5 sized comb bound book?
First: Print from website to Adobe PDF format.
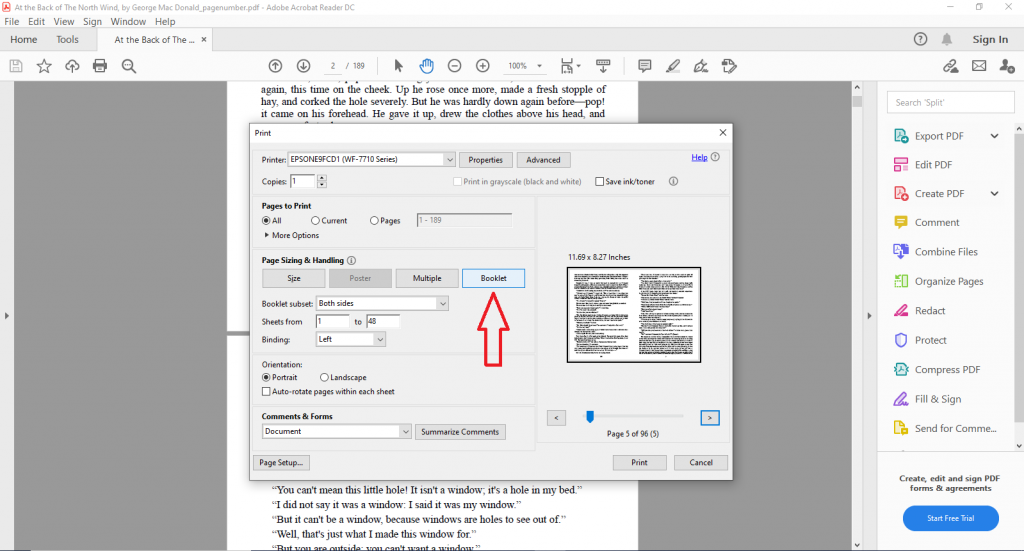
Second: Print using ‘PDF as booklet’ in Adobe Reader.
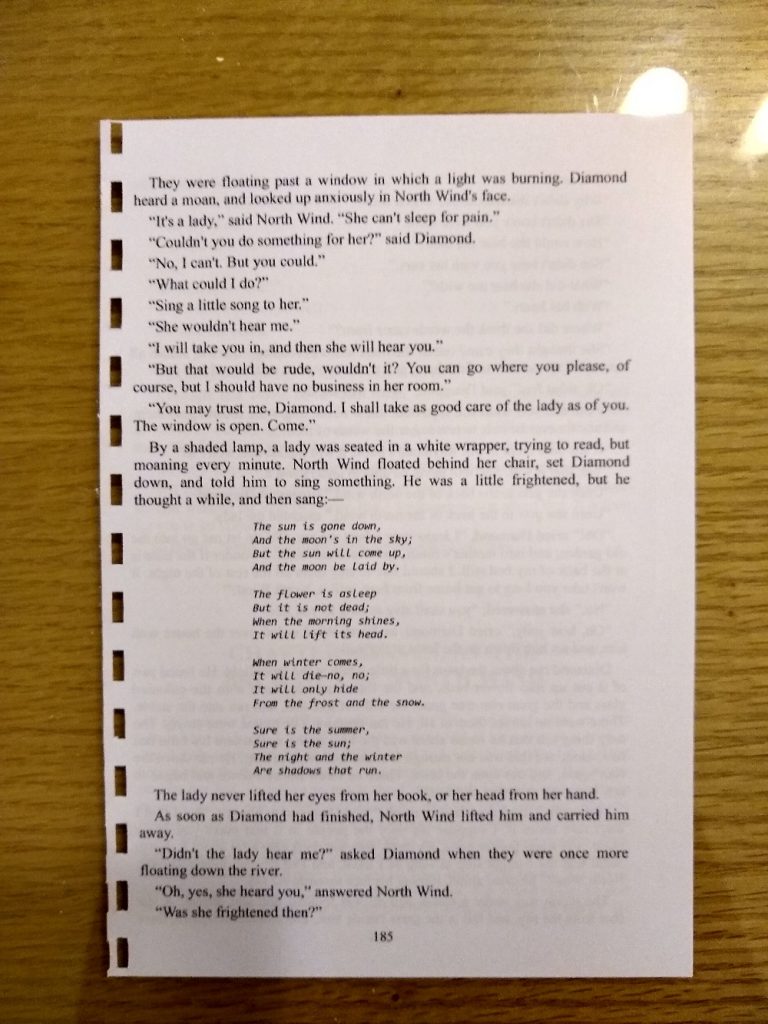
Adobe Acrobat Reader has an option to ‘Print as booklet’. I use this to create A5 books. These are the right size to slot in the bookshelf with my normal books, and are comfortable in my, and my children’s hands, curled up on the couch. I have a paper cutter and a manual comb binder.
All Ambleside Online books which are out of copyright have links to various places online where they can be read. The title of the book on the booklist page usually links to Gutenberg.
Select the text you want to include in your printed book. I usually leave out the table of contents and the Gutenburg information at the end, which is quite a few pages. I usually print the table of contents separately so that it is on its own page(s). I look for a cover image and print that as a nice cover page.
Click on the title of the book on the Ambleside Online booklist which links to Gutenburg.
Click on ‘Read this book online: HTML’.
Select the text you wish to include in your printed book.

Right-click and choose Print.
Change the Destination to ‘Save as PDF’.
Change the paper size to A5.
This PDF will have no page numbers.
IF you want to add page numbers, but have not purchased a PDF editor, you can do this online. Go to a site like https://www.ilovepdf.com/add_pdf_page_number. Upload the file, and choose the location on the page to add the numbers. I choose the centre bottom and change the font to Times New Roman, size 10, to match the rest of the PDF. Click ‘Add Page Numbers’ on the bottom right when you have made your choices. Download the file.
Open the PDF, Click Print and Select Booklet.
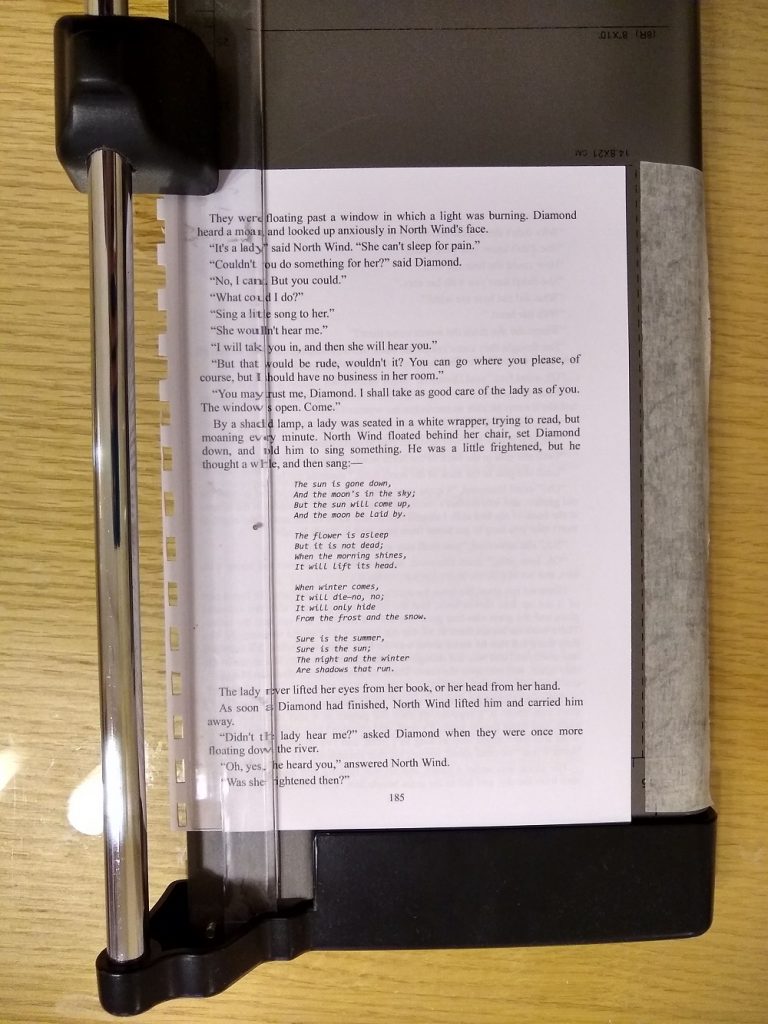
Use a paper cutter to cut the sheets in half. I have a piece of masking tape on mine for A5, to bump the lowest page up against, and I cut about 4-5 sheets at a time. I have the paper to be cut on my right and after I cut them in half and put them upside down above the paper cutter, to keep them in order.
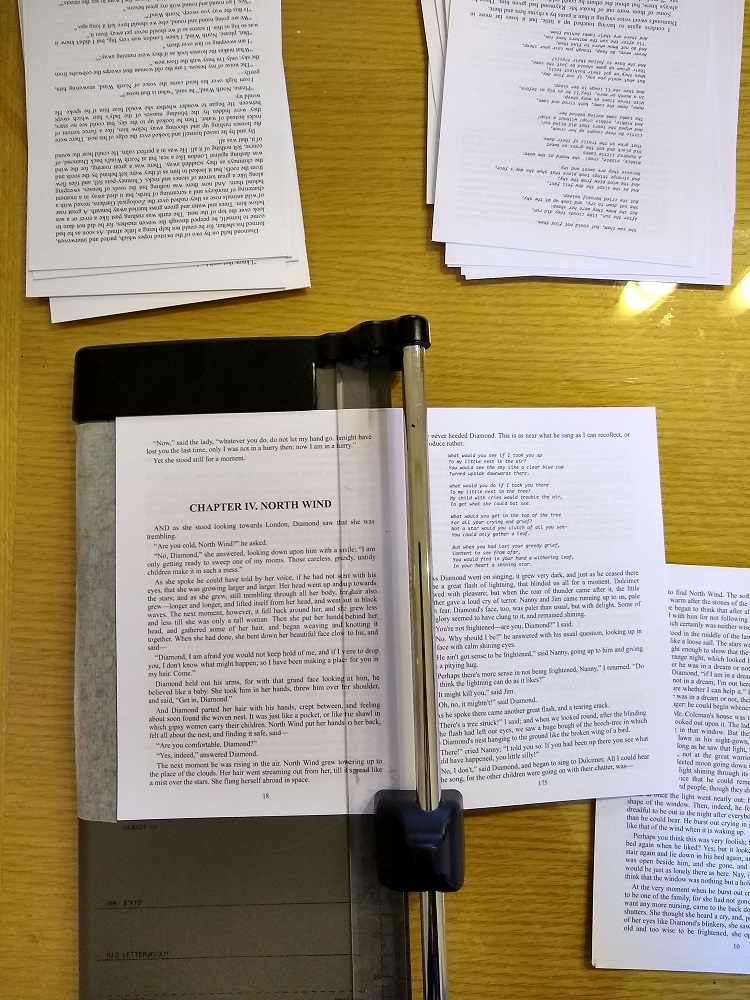
Punch the pages, 4-5 sheets at a time. Make sure to push the pages right up inside and against the bottom edge so they are evenly cut.
I had an oops on the very last set of pages.
You could reprint the pages – this is where numbered pages comes in handy. I just cut it down and re-punched because I’m not that fussy.
It will be a little narrower than the rest of the pages.
I put the title into Google and found a nice cover image on Wikipedia and printed it out A5 size.
Because there are a lot of pages in this book, I divided it into 3 bunches and added them one at a time, to the comb. I put page 1 into the comb binder first. I used larger 14mm combs as it was a lot of pages. I would use a smaller comb with less pages.
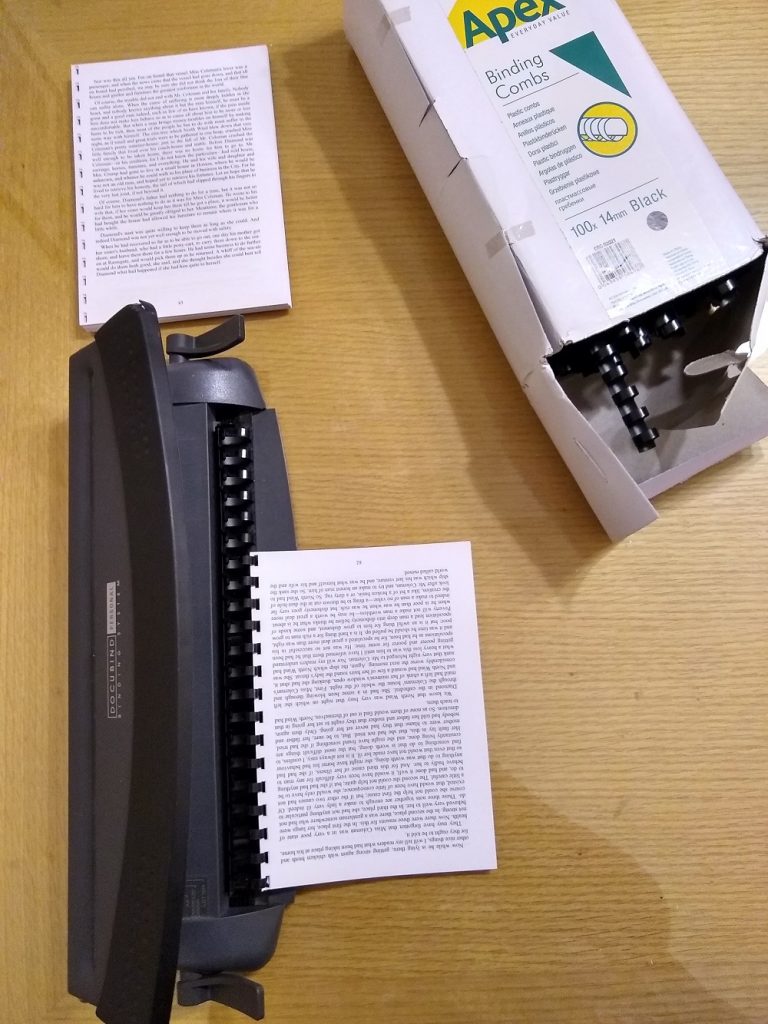
The coil will need to be trimmed as it will be too long.
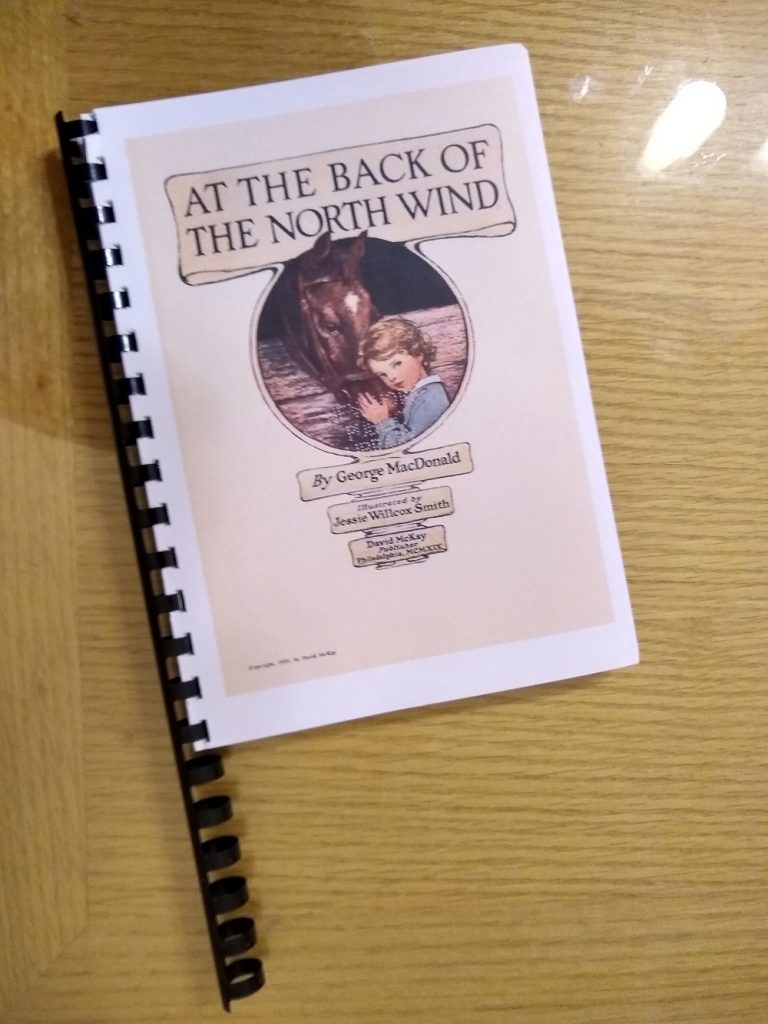
If you have a binding machine you can put the author and title on the spine, for when it is on the bookshelf.
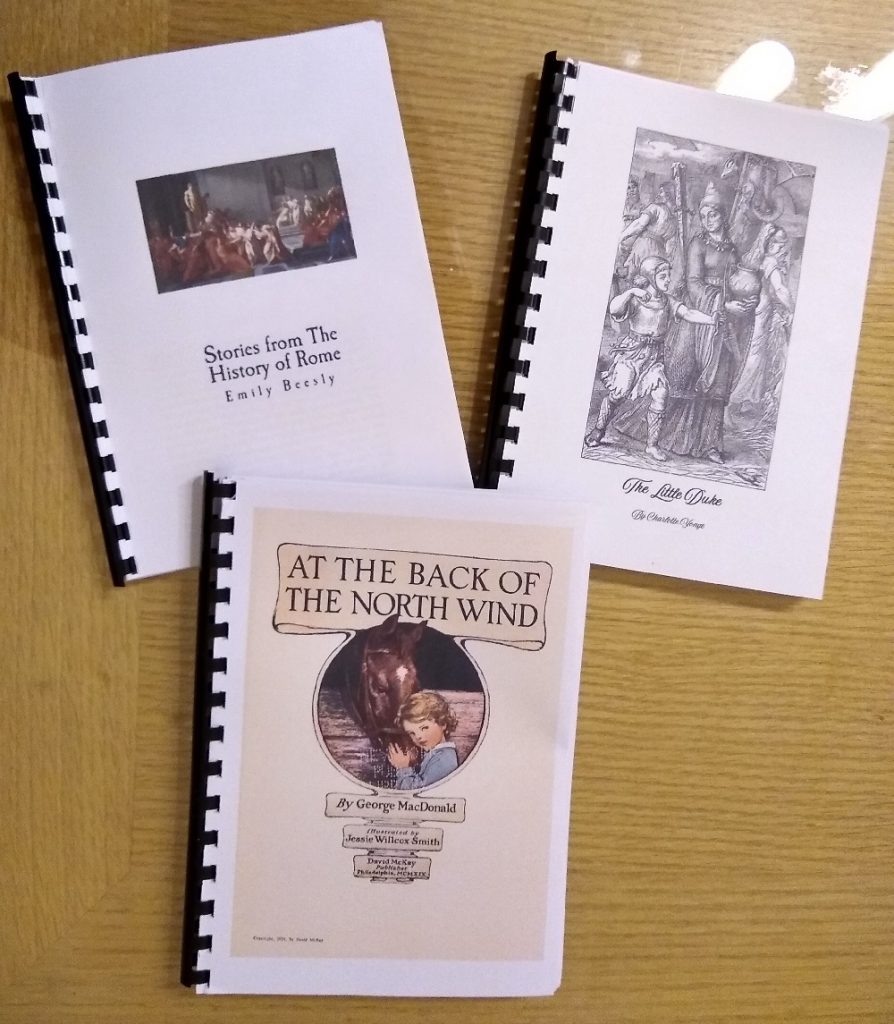
Some of my recent home-made books…